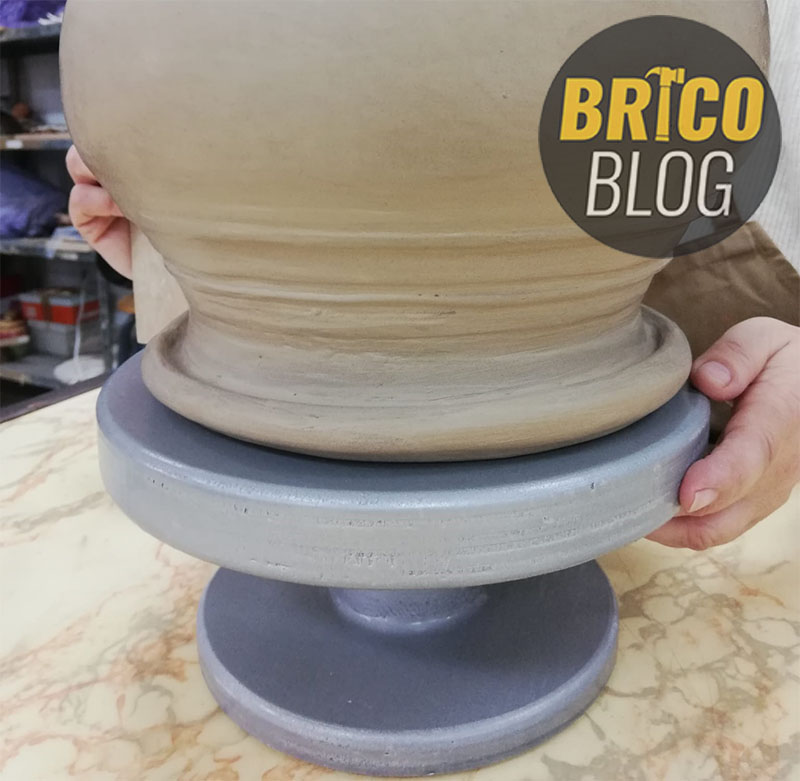
If you are a fan of ceramics, you are in the right article. Next we will teach you how to make, step by step, a manual tabletop lathe to model and work ceramics, or also known as a lathe.
In reality, this project arose as a special request made by my friend Mari Jose, who is also a handyman, but other disciplines.

Table of Contents
Necessary materials
The materials that we will need to carry out this work are not at all difficult to find in your town. They are the following:
Three or four pieces of wood A bearing A screw, nuts and washers
In addition to the materials mentioned, obviously, we will need a few tools that we will see throughout this tutorial.
The bottom of the pottery wheel will be made of 15mm thick plywood.
The upper part that will be composed of two pieces of 15mm thick plywood.
And both parts will be joined by the body that we will make with a piece of solid wood.
How to make a turntable
Next we will see the complete process for the realization of our pottery wheel.
Video-tutorial
Our long experience with the blog has shown us that there are articles that are much more complicated to explain with words than others. This is one of them.
Therefore, in addition to leaving you the entire procedure in text, we also include the video tutorial below so that you can see it in great detail and more clearly.
Preparation of the pieces
The first step will be to cut all the pieces.
We will cut one of the upper pieces and the base with the milling machine to the desired size, which in our case will be 25 and 18 cm in diameter, respectively.
We could also have made the cut with the jigsaw, but it would be less precise. The milling machine with the compass mounted, offers an impeccable finish.
Once cut, we round only one of its faces.
In the case of the third remaining piece, we will use the jigsaw. Giving it a diameter of 26 cm. Later you will see why.
With two crown bits of different diameters, we will remove a somewhat more elaborate cylindrical piece, which will be the central part of the pottery wheel.
In this other article wood drill bits We talk about some of the most used drill bits for woodworking.
We could also make it straight, in which case we would only have had to use a hole saw. But as I say, it is a special order, and we had to do our best.
With the belt sander in stationary mode, we round off the level change of this last piece.
bottom mounting
Next, with a spade bit, we hollow out the upper face a little as well as the base, enough to fit the head of the screw, as well as the nut.
We join the 2 lower pieces with a little assembly adhesive.
We put the screw with its corresponding washers, and tighten the nuts.
We already have the lower part of the lathe finished.
Construction of the upper part
Now we go to the top.
With a Forstner bit we will make a hole in the center of the upper piece whose edge we had rounded. The diameter must be slightly less than that of the bearing, since it has to be pressed in to be well fixed.
The forstner bits They are the ones used for the installation of cup hinges, used par excellence in kitchen and bathroom furniture.
Depending on the thickness of the wood that we use, we will have to put a single bearing or two. In the latter case, greater stability will be achieved.
Next we must fit the bearing, which we will do with blows. Between the hammer and the bearing we will interpose a wooden block so as not to cause damage to the latter.
Grower Washer
Once fitted, we introduce the washers, assemble the two parts, and check that it rotates.
To prevent the nut from loosening with use and the passage of time, we will use a grower washer.
Now we have to lower the center of the upper piece that remains, just enough for the protruding nut to fit in.
We join the two upper pieces with carpenter’s glue, fix them well provisionally with a few sergeants, and let the glue set.
Once the joint has set, go over the upper part with the straight copying cutter, so that it is flush with the other. As if it were only one.
And finally, we round it also with the medium radius strawberry.
Final details
To finish, we will paint our pottery wheel. Before the final finish, we will give a coat of primer, so that the paint adheres correctly.
And finally, we will put the icing on the cake, which will be three adhesive silicone tears so that the lathe grips well on the work table.
Completed work !!
.